My last blog post was written and posted from London, during a long layover on my way to Africa. We just completed the amazing photo tour in Tanzania and now I am writing this blog post while on another layover, this time in Ethiopia.
After shooting more than 300GB of images in the last 12 days, I have started working on the culling (using Photo Mechanic) and retouching (using Adobe Photoshop). As I was working on this process, I thought that I would show you my finished image and the original, to give you an idea of what I do to complete an image. Regardless with what camera you use, or even the photo retouching software you use, these tips should be helpful to you. At least I hope so!
Let's jump right in.
On one of our slower days on safari, we decided to work on the art of capturing birds in flight. We continually chased the Lilac-breasted rollers, waiting for them to take off, and hoping to grab some nice photos. This shot was taken at 1/5000 sec using the
Canon R5 camera with the
Canon RF100-500mm lens. The subject tracking is SO GOOD, that it really helped me and our photo tour guests capture some killer images. But, if you see the original below, the image needed cropping, and some adjustments to the white balance, tiny, color saturation and contrast. What a difference this makes!
At one point, one of our vehicles got a flat tire. While our guides were changing the tire, we were surrounded by the local Masai people. This was an awesome time to do portraits of them. I love this photo of a local Masai boy, but there was a rock at the bottom of the frame. Using Photoshop's clone tool, I was able to remove the distraction of the rock and make a better portrait.
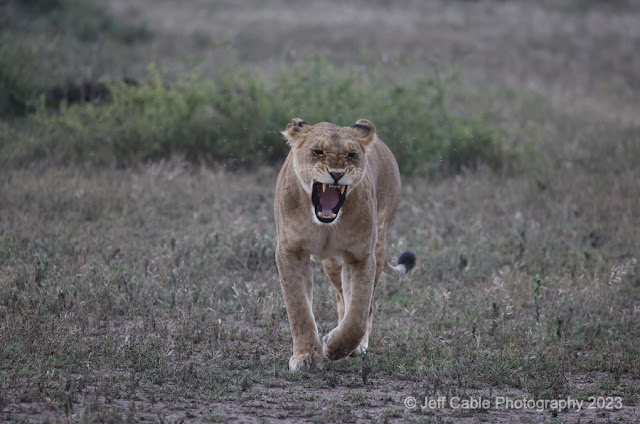
One of the things that we look for when photographing the large cats in Africa is the yawns and good facial expressions. The lioness looks ferocious in this photo, but it is simply a yawn. I knew as soon as I took it, that it would make a nice photo, but I needed to crop in and makes subtle changes to the exposure, shadows and highlights to really finish it off. You can see how the tighter crop and other adjustments really brings the photo to life.
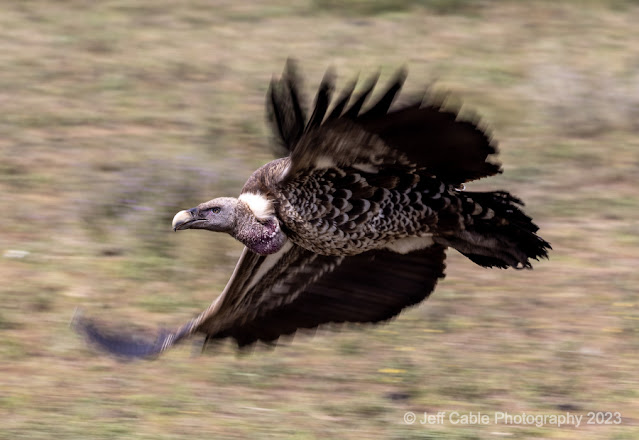
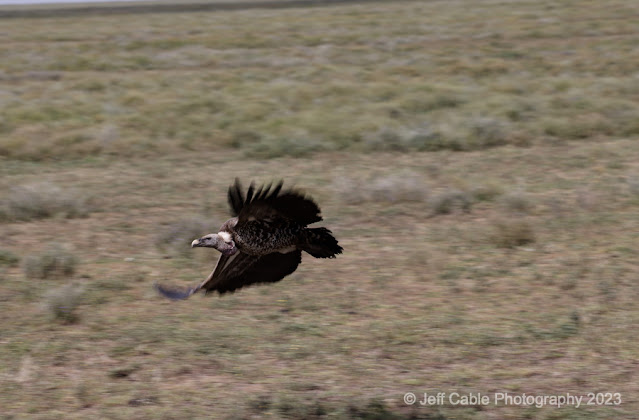
This photo was one of the most difficult of the trip. We were parked off to the side of a kill, photographing the vultures as they continually flew down to feed. After taking countless images of the birds in flight, I figured it was time to try something different (and teach our guests some new tricks). I changed my camera settings (from ISO 1000, f/7.1) to ISO 100 with an aperture of f/11. This now gave me a shutter speed of 1/200 sec. I followed the vultures with my lens as they flew down and motion panned them. I captured this photo and loved the motion in the wings with the face being tack sharp. Using the resolution of the
Canon R5 camera, I was able to crop in on the photo to highlight the details of the head and the motion everywhere else, with plenty of resolution to spare. Comparing the retouched image to the original, you will see that I also made adjustments to the exposure to brighten the bird and background.
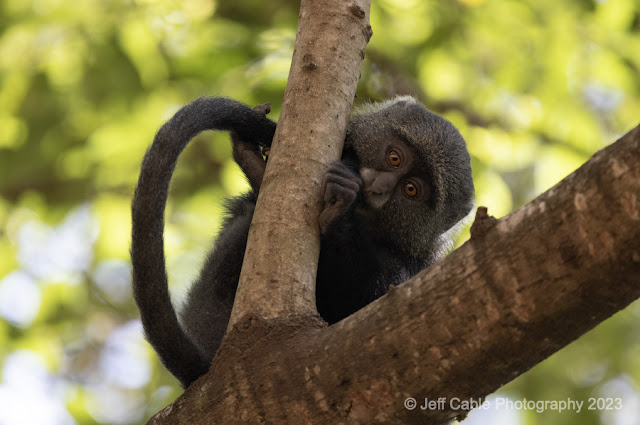
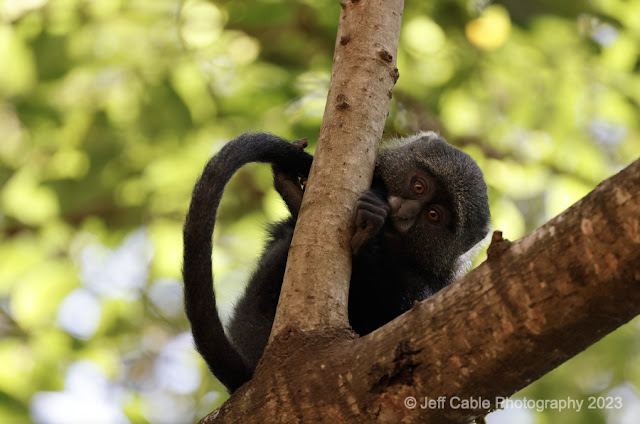
I took this photo this morning, before packing up and heading to the airport. This monkey was just outside my room and screaming for a photo. I was captured by the orange eyes, but needed to make minor adjustments to bring out the eyes. I used Photoshop to select the subject and then increased the exposure and made adjustments to the shadows slider to lessen the dark shadows. These changes were less obvious but still needed to complete the shot.
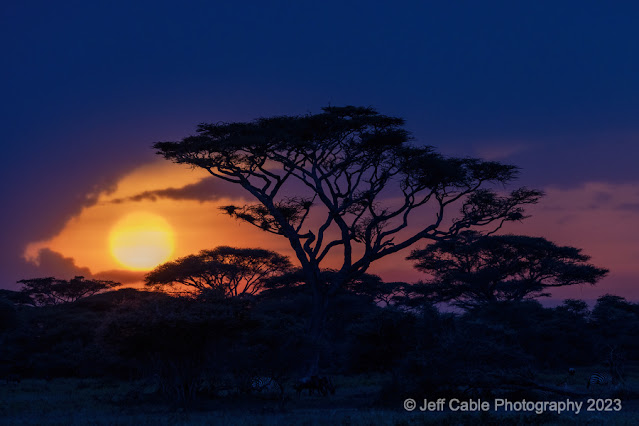
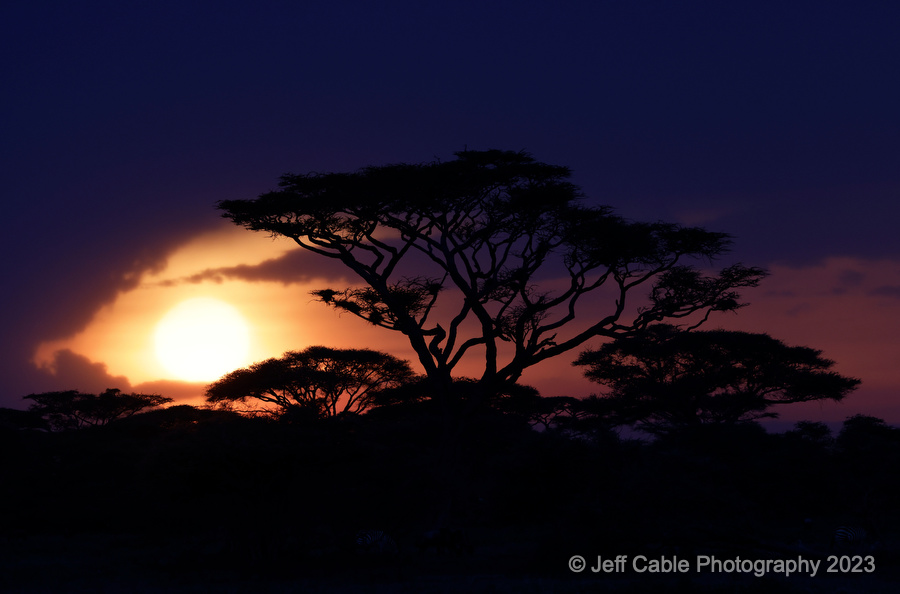
This last shot is one of my favorites from the trip. We were done photographing the wildlife for the day, and heading back to our tent lodge for the night. We saw some color in the sky and I asked my guide to drive to a spot with a good acacia tree in the foreground. At that point the setting sun was behind the clouds and we thought we would just get a little color in the background, but no actual sunset. One of photo tour guests who was in the car with me, said "I think the sun is starting to show." And sure enough, the sun made a full appearance in the perfect spot. We took many photos as the sun appeared and then dropped below the horizon, and I honestly did not think they would yield much. But after seeing the original and then playing with it in Photoshop, it blew me away. I increased the exposure a bit (since I was shooting at -1.7 exposure comp to protect the highlights), brought up the shadows to show the colors in the sky and show some of the animals at the bottom of the frame (even though they are hard to see here). I darkened the highlights to accentuate the colors in the sun, and added saturation to try and match what we saw when taking the photo. Once again, minor tweaks that make a big difference!

I hope that these examples will help you with your photo retouching, and take your good photos to great!
__________________________________________________________________________
Subscribe to the Jeff Cable Photography Blog by clicking HERE!
__________________________________________________________________________
If you are interested in purchasing ANY equipment, please click here to go to B&H Photo, as I get a referral from them if you enter this way. It does not change the cost to you in any way, but it helps me keep this blog up and running.
__________________________________________________________________________
Check out my upcoming photo tours to amazing places around the world. I have photo tours to Africa, Costa Rica, Cuba, Europe, Asia, India and more. And Canon will loan you any gear you want for FREE for any of my tours.
__________________________________________________________________________


2 comments:
Great read! Your explanation of how small retouching adjustments can turn a good photo into a great one is very insightful. The step-by-step breakdown is especially helpful for understanding the process. It would be awesome to see more before-and-after comparisons to showcase the impact of these edits. Thanks for sharing your expertise! If you’re searching for more advanced editing solutions, consider exploring Zenith Clipping . Their professional expertise ensures precise and high-quality edits for all your creative needs. Happy editing!
Post a Comment